A few years or so ago, we grew a garden. We were in a house with much more land, so it only seemed like the natural thing to do. We've always been interested in growing our own food and we had the land, so why not give gardening a try? But the thing is, it can be an expensive startup cost and it can easily become overwhelming.
We left our garden beds when we moved to another house. And over time other projects on the new house became our focus. 4 years later we went on an extended trip in California and spent a lot of time on different farms and homesteads. It was then when our desire to start our own version of a homestead came back. Our first act? Order baby chicks. The second? Start collecting free materials for garden beds.
In our old house we built 4 4'x12'' wood beds and then later built a 3'x5' bed out of cinder blocks. The wood ones weren't completely expensive, but we made 4 and needed to fill them all with soil. That price added up quickly. The cinder block one worked but was not very nice to look at. So we knew this time that we wanted beautiful garden beds (preferably in the potager style) but we also needed to make them in the cheapest way possible. Enter in Craigslist. We searched high and low for free wood. We collected pallets, old barnwood, old shelves to disassemble and extra random pieces from friend's houses. After about a month of searching we had gathered enough material to build most of our chicken coop and some pretty nice garden beds.
To make the beds we did, you will need mostly pallets. We also used 1"x3" pieces to hold the pallet wood together, and 1"x4" on the tops to make the beds look more finished. We purchased the 1"x4" for about $6, so you can leave this out if you want to do this completely free.
The first thing you need to do is cut your pallets into individual pieces. Use a circular saw or jigsaw to do this. I cut mine into 14" pieces which is about the exact size from one wood brace to another. Once you have a bunch of pieces cut, like maybe 30, you can move onto the next step.
We are making a 4'x8' bed, so these measurements will be for those specific dimensions. For each bed you will need wood cut into these measurements:
30 or so 14" pieces of pallet wood
2- 1"x3"x90"
3- 1"x3"x43.5"
2- 1"x4"x96", ends cut on a 45 degree angle
2- 1"x4"x48", ends cut on a 45 degree angle
1 1/4" screws or 1 1/2" nails
2 1/4" screws
Some of the wood on pallets is very hard, so you will want to use screws if that's the case. Otherwise, you can use nails. Whatever works best for you.
To start assembling, lay the pallet wood pieces in a line and lay a 90" piece flat across the pieces perpendicularly.
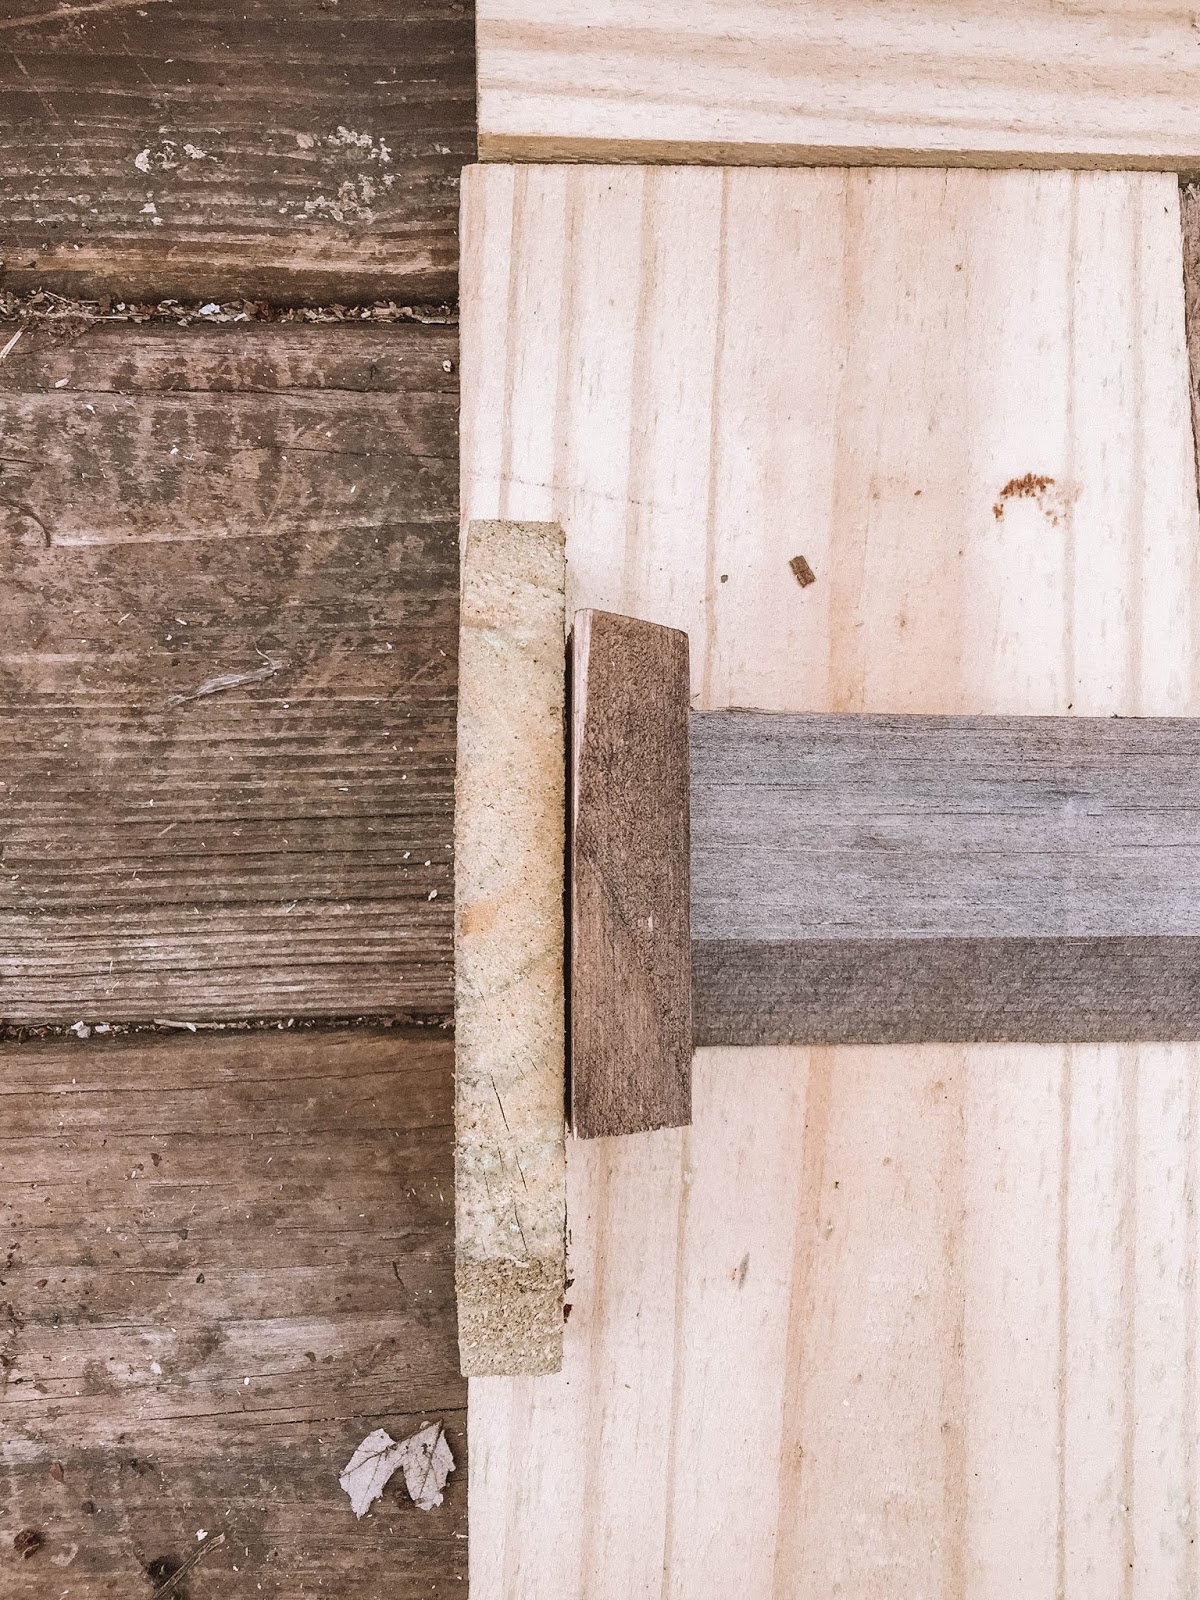
The width of the pallet pieces should be 93", so there should be about 1.5 inches of space on each end. Secure the pallet wood with screws or nails until the entire piece is assembled. This will complete one side of the garden bed. Repeat this process with the other 90" piece and 2 of the 43.5" pieces. The only difference is that on the 43.5" pieces, you will extend the pallet pieces from edge to edge. This is the part that will join with the long piece at the corner.
**Most pallet wood is about 3/4" in width. If your pallet wood is thicker than 3/4", you will have to adjust some measurements.
This is the point when we painted the outside of our garden beds. If you like the mixed match weather wood look, you can definitely skip this step! But we had a ton of left over paint and it really made the bed look nice.
When we assembled a second version of this garden bed, we assembled it first and then painted it. This became our preferred method.
When all the sides have been assembled, you will place them upright and attach the short ends to the long ends, making a rectangle. Assemble the corners by using 2 1/4" screws.
Attach the 3rd 43.5" piece to the long sides in the middle of the garden bed.
You can stop here and you will have a great garden bed! Or you can take it a step further with a few 1"x4" pieces like we did to make it a little more finished. If you can't gather these for free, you could either purchase them or rip a 2x4 in half with a table saw. After all the ends have been cut into 45 degree angles, place them flat on top of the edges of the garden bed. Attach with nails (or screws). The goal is to create a uniform border.
Now once you've completed to process of building your beds, you still have to figure out how you are going to fill them, and with what. You can see how we did that in this blog post:
The Cheapest Way To Fill Your Garden Beds.
I will say that we did line the wood with garden fabric, as we didn't want any chemicals from the wood seeping into the soil. You can get a large roll that will cover multiple beds for about $10. If you know more about the wood pallets you have this may not be a necessary step.
This certainly isn't the quickest way to build a garden bed but it is free! This is also a great way to repurpose materials. You could get really creative with this and layout the wood in lots of different ways. We hope this DIY was helpful in making your gardening dreams come true. Thanks for stopping by!


Comments
Post a Comment